1. About Satellite Fugaku
“Satellite Fugaku” is a computer system built on a commercial cloud as a software stack equivalent to “Fugaku,” which was installed as a demonstration and development environment for “Virtual Fugaku” advocated by R-CCS.
Fugaku users can use Satellite Fugaku.
See System Configuration and Software Configuration for configuration of Satellite Fugaku.
Caution
Satellite Fugaku is a very small trial environment, shared by many users.
Each resource is not abundant, so please be careful when using it.
Satellite Fugaku may be suspended without prior notice.
Please check Fugaku website for announcement information.
2. Login and Logout
Since the Satellite Fugaku environment cannot be connected directly from the Internet, you must first log into the Fugaku login node to use it. For details on how to log in to the Fugaku login node, refer to Supercomputer Fugaku Users Guide - Use and job execution.
At login, execute the following command on the Fugaku login node:
login$ ssh sflogin1
Important
UID/GID is the same as Fugaku.
There are data directories for each project in Satellite Fugaku, so if you use a single account, please change your group by executing id command and newgrp command as the following example:
sflogin1$ id
uid=99999(u19999) gid=59999(fugaku) groups=59999(fugaku),99999(hp999999)
sflogin1$ newgrp hp999999
To log out, execute the following command. You are back logged in to the Fugaku login node.
sflogin1$ exit
You can also login to the login node of Satellite Fugaku on a web browser. Please refer Linkage with Fugaku Open Ondemand.
3. How to Use File System
3.1. Summary
Satellite Fugaku is a trial environment and differs from Fugaku in the use of the file system.
Important
The following information may be changed due to future operating conditions.
User data is not backed up by system. Please back up by users.
The home directory and data derectory are also exists in Satellite Fugaku, but file systems are different from Fugaku and are not shared.
Since the total disk capacity is small, please use the minimum necessary amount of both the home directory and data directory.
Data required for job execution is stored in the data directory. The data directory is on a shared file system (Lustre file system), with directories for each project.
Data required for job execution can be copied from the second-layer storage of Fugaku. For more detail, please see Data Transfer from/to Fugaku.
Both the home directory and the data directory are Quota limited.
Both the home directory and the data directory are not expandable. When it becomes available, it will be announced on the Fugaku website.
3.2. The Home Directory
The user’s home directory is created with the same path as Fugaku. However, the data in the directory is not synchronized.
The quota limit is 10 GB per user.
The home directory is shared by the login node and the compute nodes in Satellite Fugaku.
3.3. The Data Directory
The data directory has a different path than Fugaku. The following directories are provided for each project. Use these areas to store job input and output files.
/lustre01/groupname/
The quota limit is 200 GB per project.
The data directory is shared by the login node and the compute nodes in Satellite Fugaku.
3.4. Data Transfer from/to Fugaku
The login node of Satellite Fugaku mounts the second-layer storage of Fugaku as NFS in Satellite Fugaku environment. You can copy the data necessary for job execution to the data directory of Satellite Fugaku. An example of how to copy is shown below.
sflogin1$ cp /vol000X/groupname/... /lustre01/groupname/...
Caution
The second-layer storage of Fugaku is not accessible from the compute nodes of Satellite Fugaku.
Do not copy more than 50 GB of data per one attempts, and keep minimum data transfer.
The second-layer storage of Fugaku can be accessed from the following mount points at the login node of Satellite Fugaku. Symbolic links are not created. Directories and files must be accessed by the absolute path.
/vol0001
/vol0002
/vol0003
/vol0004
/vol0005
/vol0006
Tip
The absolute path (file path) at the second-layer storage of Fugaku can be found on the Fugaku login node as follows:
login$ readlink -f <filepath>
3.5. Others
There is a file system with Virtual Fugaku Environment (Spack) installed (/efs01). This directory is for the purpose of installing OSS provided as a Virtual Fugaku Environment (Spack) only and is not writable by the user.
How to use Virtual Fugaku Environment (Spack) is as follows.
sflogin1$ . /efs01/apps/oss/spack/share/spack/setup-env.sh
4. Compile
You can compile only by GCC. You would like to confirm the information of available compilers, please refer Compilers. An example of how to execute compiling is bellow.
sflogin1$ gcc -o a.out sample.c
5. Job Execution
There are two ways to run jobs: batch jobs and interactive jobs. A batch job is a method of creating a job script in advance and submitting jobs. This type is suitable for long-running operations. Interactive jobs, on the other hand, allow users to execute commands interactively. This can be used for debugging before batch jobs are submitted.
5.1. Job Queues
The following job queues are available at Satellite Fugaku.
Important
The following information may be changed due to future operating conditions.
Queue Name |
Node Name |
Total Nodes |
Total Available Cores |
Maximum Elapsed Time |
Maximum Memory Amount Per Node |
Maximum Nodes Per Job |
|---|---|---|---|---|---|---|
satf01 |
satf01-dy-g3e-[1-8] |
8 |
512 |
24 H |
128 GB |
8 |
You can use sinfo command to check the status of compute nodes as follows:
sflogin1$ sinfo
PARTITION AVAIL  TIMELIMIT  NODES  STATE NODELIST
satf01*      up   infinite      7  idle~ satf01-dy-g3e-[2-8]
satf01*      up   infinite      1    mix satf01-dy-g3e-1
The status of compute nodes are described as follows in STATE.
STATE |
Meanings |
|---|---|
idle~ |
Power Off |
idle |
Idle (all CPU cores are not allocated to any jobs) |
mix |
Some CPU cores are allocated to jobs and the others are idle. |
alloc |
All CPU cores are allocated to jobs |
For details on how to use sinfo command, refer to Pre/Post Environment Users Guide and the official document of Slurm.
You can use the following commands to check job queue information:
sflogin1$ scontrol show partition
Note
Up to 8 compute nodes will start currently, but it is not that all nodes are always stand by.
Compute nodes that have finished running jobs remain idle for 10 minutes, and then they will stop.
If jobs need to start new compute nodes for job execution, it takes about five minutes to start the job execution.
5.2. Batch Jobs
To submit a job as a batch job, create a job script. Run the Slurm command on the login node of Satellite Fugaku.
The submitted job is automatically scheduled and executed.
The same node is shared by multiple jobs. If you want to measure the job’s performance, execute the job so that the node is occupied.
The following shows examples of job execution.
sequential job
sflogin1$ cat job.sh
#!/bin/bash
#SBATCH -p satf01
#SBATCH -n 1
#SBATCH --time 00:30:00
#SBATCH --mem 1G
./a.out
sflogin1$ sbatch job.sh
OpenMP
sflogin1$ cat mp.sh
#!/bin/bash
#SBATCH -p satf01
#SBATCH --time 00:30:00
#SBATCH --cpus-per-task=2
export OMP_NUM_THREADS=2
./a.out
sflogin1$ sbatch mp.sh
OpenMPI
sflogin1$ cat mpi.sh
#!/bin/bash
#SBATCH -p satf01
#SBATCH -n 2
#SBATCH --time 00:30:00
mpiexec --use-hwthread-cpus -n 2 ./a.out
sflogin1$ sbatch mpi.sh
The status of the submitted job can be checked as follows:
sflogin1$ squeue
5.3. Interactive Jobs
In an interactive job, you can specify the required resources as options to the Slurm command. Specify and execute directly on the login node of Satellite Fugaku. When resources are allocated, the interactive job starts. You can then run the command interactively. The following is an example of a job submission command for an interactive job.
Caution
Please definately limit the elapsed time (--time).
sflogin1$ srun -N1 -n1 --job-name "InteractiveJob" --time 00:30:00 --pty bash -i
5.4. Slurm Commands
The main Slurm commands available in Satellite Fugaku are bollow. For details on how to use each command, refer to Pre/Post Environment Users Guide and the official document of Slurm.
sinfo
squeue
sbatch
srun
scancel
Caution
The job execution history command (sacct) is currently unavailable. When it becomes available, it will be announced on the Fugaku website.
6. System Configuration
6.1. System Configuration Diagram

6.2. Specification of Servers
Login node
Node name: sflogin1
Server |
AWS EC2 |
CPU |
AWS Graviton3E (2.60 GHz/64 core) |
Memory |
128 GB |
Local Storage |
1 TB |
OS |
RHEL 8.10 (4.18.0-553.5.1.el8_10.aarch64) |
Shared File System |
Lustre File System 12 TB (quota 200 GB/group), EFS (Only for Virtual Fugaku Environment(Spack), READ ONLY) |
Compute Nodes
Node names: satfs01-dy-g3e-[1-8]
Server |
AWS EC2 |
CPU |
AWS Graviton3E (2.60GHz/64core) |
Memory |
128 GB |
Local Storage |
35 GB |
Cluster Network |
EFA enabled |
OS |
RHEL 8.10 (4.18.0-553.5.1.el8_10.aarch64) |
Shared File System |
Lustre File System 12 TB (quota 200 GB/group), EFS (Only for Virtual Fugaku Environment(Spack), READ ONLY) |
Caution
Up to 8 compute nodes will start currently, but it is not that all nodes are always stand by.
Compute nodes that have finished running jobs remain idle for 10 minutes, and then they will stop.
If jobs need to start new compute nodes for job execution, it takes about five minutes to start the job execution.
7. Software Configuration
7.1. Virtual Fugaku Environment (Spack)
Satellite Fugaku offers a software stack defined as Virtual Fugaku ver.1. The Virtual Fugaku ver.1 software stack is implemented as a Spack recipe. You can get a list of available OSSs by running the following command.
it only shows explicitly installed packages with an option -x, though many other dependent packages are installed.
Caution
Please check the latest OSS list on login node.
sflogin1$ . /efs01/apps/oss/spack/share/spack/setup-env.sh
sflogin1$ spack find -x
-- linux-rhel8-neoverse_v1 / gcc@8.5.0 --------------------------
gcc@14.1.0

-- linux-rhel8-neoverse_v1 / gcc@14.1.0 -------------------------
genesis@2.1.3
gnuplot@6.0.0
gromacs@2024.2
gsl@2.7.1
lammps@20230802.3
metis@5.1.0
openbabel@3.1.1
openfoam@2312
openfoam-org@10
paraview@5.12.1
parmetis@4.0.3
petsc@3.21.2
py-ase@3.21.1
py-matplotlib@3.9.0
py-mpi4py@3.1.6
py-numpy@1.26.4
py-pandas@2.1.4
py-scikit-learn@1.5.0
py-scipy@1.13.1
py-toml@0.10.2
quantum-espresso@7.3.1
scale@5.4.4
tmux@3.4
7.2. Compilers
The following compilers are available:
gcc 8.5.0
gcc 14.1.0 ( please execute
$ spack load gccbefore you use )
7.3. MPI Environment
You can use OpenMPI 4.1.6 ( /opt/amazon/openmpi ) as default.
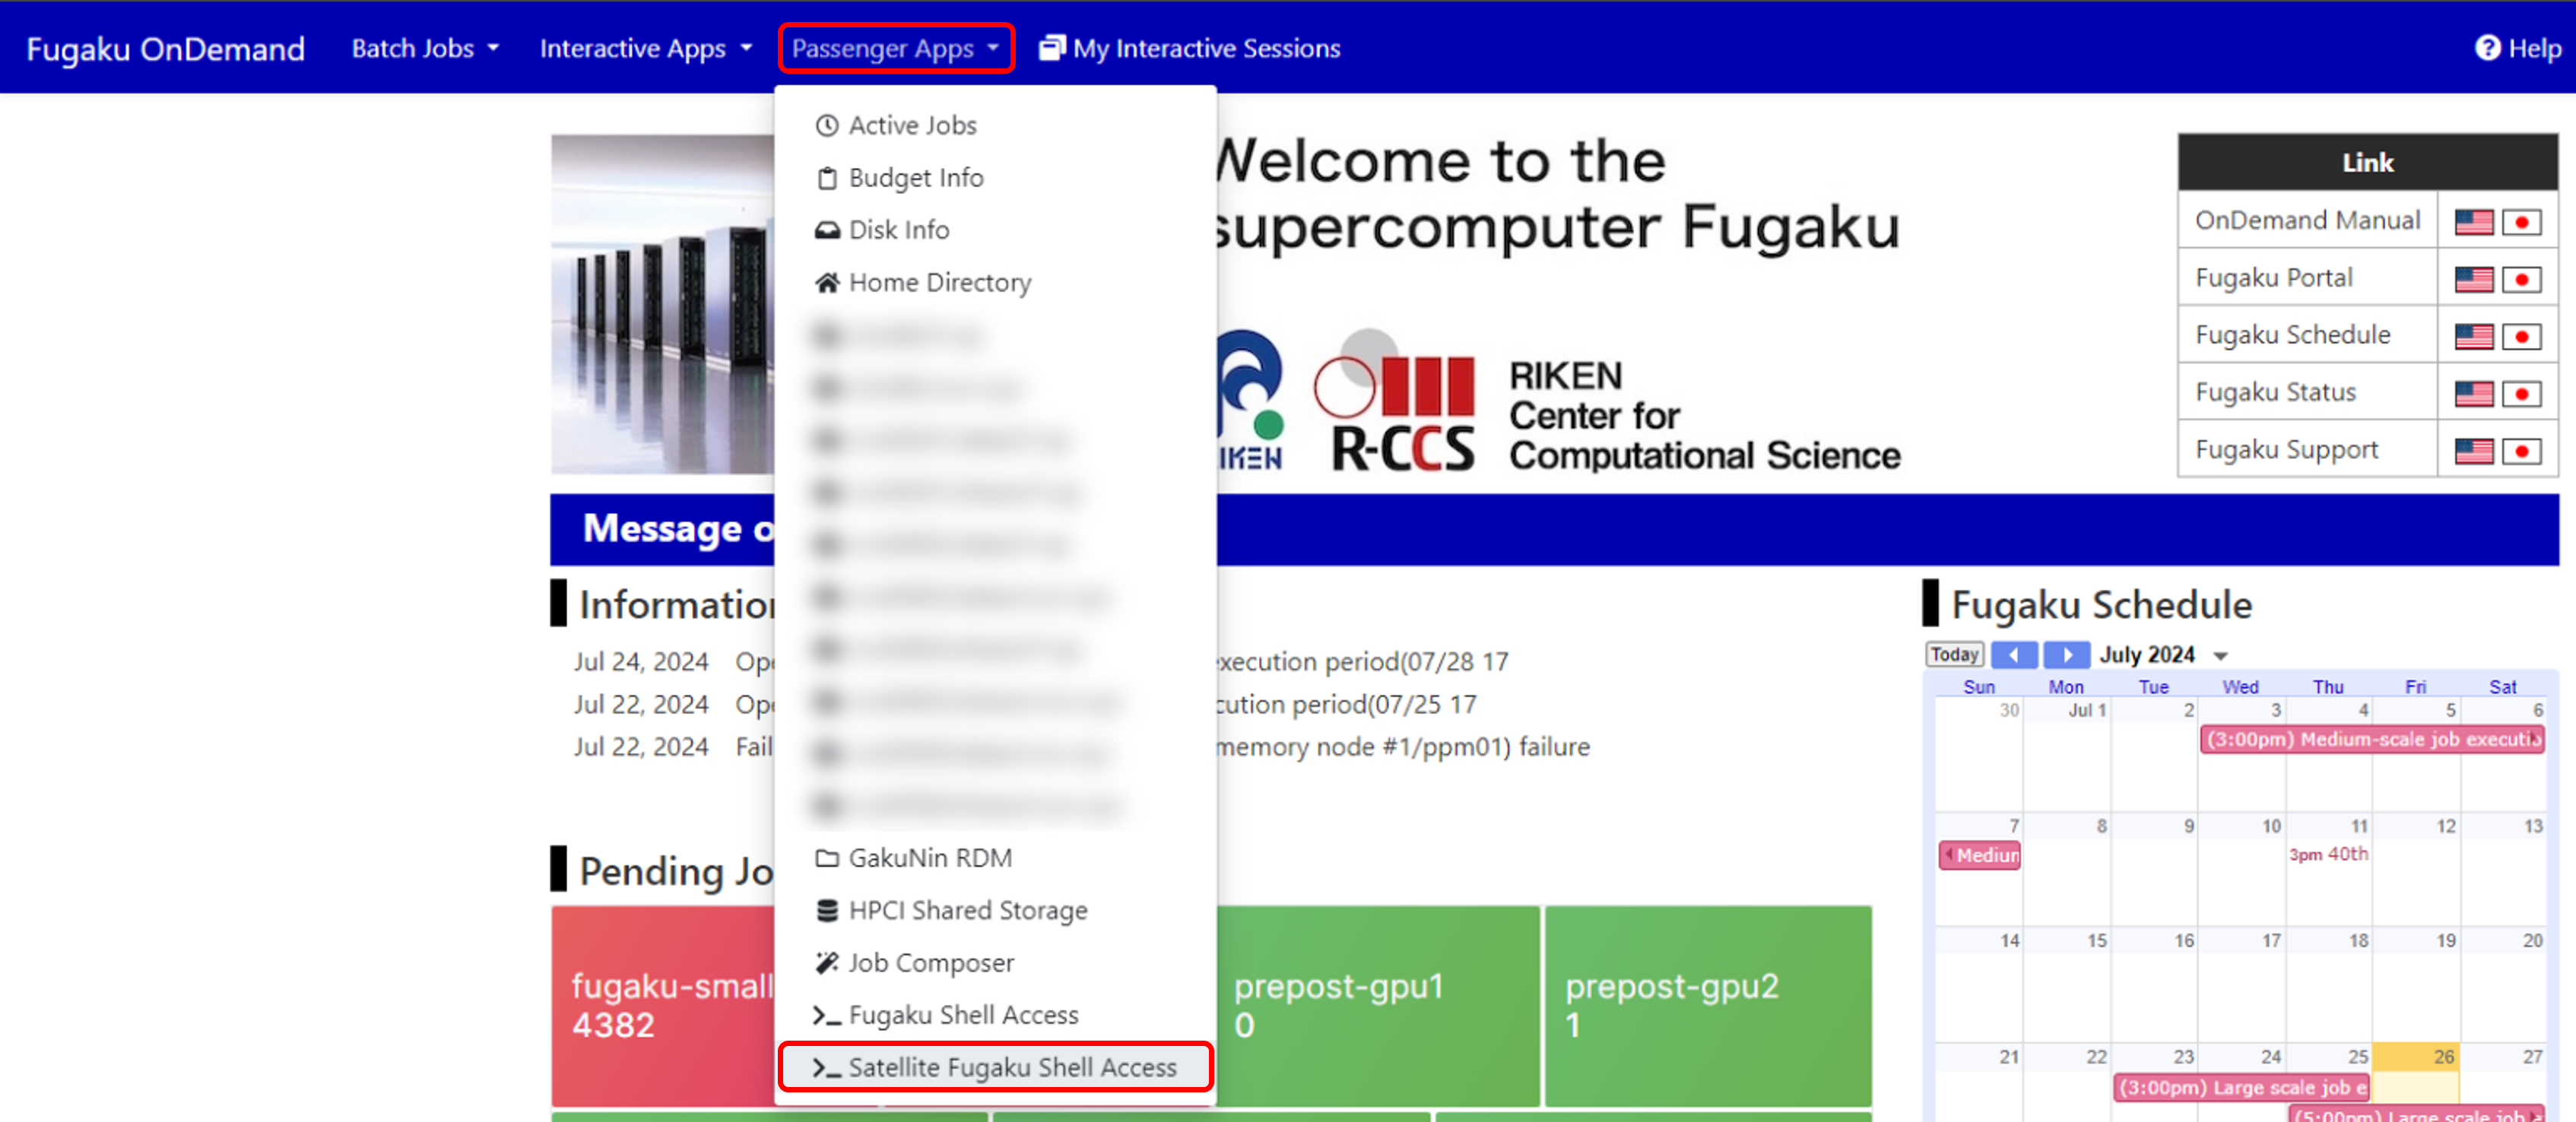
8. Linkage with Fugaku Open Ondemand
You can also use the command line interface of the login node of Satellite Fugaku via Fugaku Open OnDemand.
Therefore, you can use the login node of Satellite Fugaku on a web browser.
Please select “Satellite Fugaku Shell Access” in “Passenger Apps” of Fugaku Open OnDemand. How to use Fugaku Open OnDemand is explained in Fugaku Open OnDemand Guide.
9. Singularity
Satellite Fugaku supports Singularity (singularity-ce version 4.1.4).
Singularity is a container runtime developed specifically for HPC environments. It provides a secure container environment while maintaining user privileges, running efficiently and lightweight.
This document explains the basic operations of Singularity and provides execution examples.
For detailed information, please refer to the official user guide.
9.1. Running Container Images
Singularity allows simple container operations using straightforward commands.
Acquiring an Image
singularity pull docker://ubuntu:latest
This command retrieves the ubuntu:latest image and creates a file named ubuntu_latest.sif.
Running a Container
singularity run ubuntu_latest.sif
This executes the runscript within ubuntu_latest.sif. If a runscript is not defined, it opens in shell mode.
Executing Commands Inside a Container
singularity exec ubuntu_latest.sif ls /usr
This lists the contents of the /usr directory within the container.
Opening an Interactive Shell
singularity shell ubuntu_latest.sif
Opens an interactive Singularity shell.
Binding Filesystems
singularity exec --bind /data:/mnt ubuntu_latest.sif ls /mnt
Binds the host’s /data directory to /mnt inside the container.
9.2. Creating Container Images
Singularity supports two primary image formats:
- SIF(Singularity Image Format):
The standard format for Singularity images, containing all container data in a single file.
- Sandbox (directory format):
Managed as directories, useful during development and debugging.
singularity build --sandbox my_sandbox/ docker://ubuntu:latest
This section describes creating SIF images.
To create containers with general user privileges, the fakeroot feature is utilized.
Obtaining the Base Image
singularity build ubuntu_latest.sif docker://ubuntu:latest
Converts the Docker Hub image ubuntu:latest to a Singularity Image (SIF format).
Building the Image
singularity build --fakeroot my_image.sif Singularity.def
Creates my_image.sif based on the definitions provided in the definition file Singularity.def.
Tip
You can verify image details as shown below:
singularity inspect my_image.sif
Displays metadata of the image (environment variables, labels, runscript, etc.).
Writing the Definition File
Below is an example of a definition file.
Header Section
Bootstrap: docker
From: ubuntu:20.04
Creates a container based on the Docker image of Ubuntu 20.04.
%post Section
%post
    apt-get update
    apt-get install -y build-essential
    apt-get clean
    rm -rf /var/lib/apt/lists/*
Removes unnecessary data to optimize container size.
%runscript Section
%runscript
    echo "This is a custom Singularity container!"
    exec "$@"
%environment Section
%environment
    export PATH=/opt/myapp/bin:$PATH
    export MY_VAR="custom_value"
9.3. Using Singularity on Compute Nodes
Singularity containers can be executed on compute nodes.
Satellite Fugaku uses Slurm as the job scheduler. Job scripts should be written as follows:
#!/bin/bash
#SBATCH --job-name=my_singularity_job
#SBATCH --output=output.txt
#SBATCH --ntasks=1
#SBATCH --time=00:10:00
singularity run my_container.sif python my_script.py
10. Revision History
Version |
Date |
Detail |
|---|---|---|
1.0 |
2024-07-16 |
Creation of the first edition |
1.1 |
2024-07-26 |
Chapter 2: Add how to login from Fugaku Open OnDemand/Chapter 8: Add how to start CLI of login node of Satellite Fugaku from Fugaku Open OnDemand |
1.2 |
2025-02-28 |
Chapter 9: Add how to use Singularity |